Run InvoiceNinja 5 behind a reverse proxy with a Let's encrypt SSL/TLS certificate
In this post I am showing you what you need to do to setup InvoiceNinja 5 behind a reverse proxy and using a Let's encrypt SSL/TLS certificate to secure it.
In my last two blog post I have described you how to setup InvoiceNinja 5 using the docker image and how to secure this via a SSL/TLS certificate. Please read through these as they are the basics for this post.
Configure InvoiceNinja to be able to run behind a reverse proxy
To run InvoiceNinja 5 behind a reverse proxy you will need to change your env file. You will need to change the APP_URL to the public URL InvoiceNinja 5 is running under and you need to add the TRUSTED_PROXIES directive.
TRUSTED_PROXIES=*
Using Apache as a reverse proxy
Typically a NGINX is the better choice for a reverse proxy than Apache. Still Apache is very widely spread and I do not want to leave it out of the equation.
If you have not yet installed Apache you can do this as follows:
sudo apt update
sudo apt install apache2
sudo a2enmod proxy
sudo a2enmod proxy_http
sudo a2enmod proxy_balancer
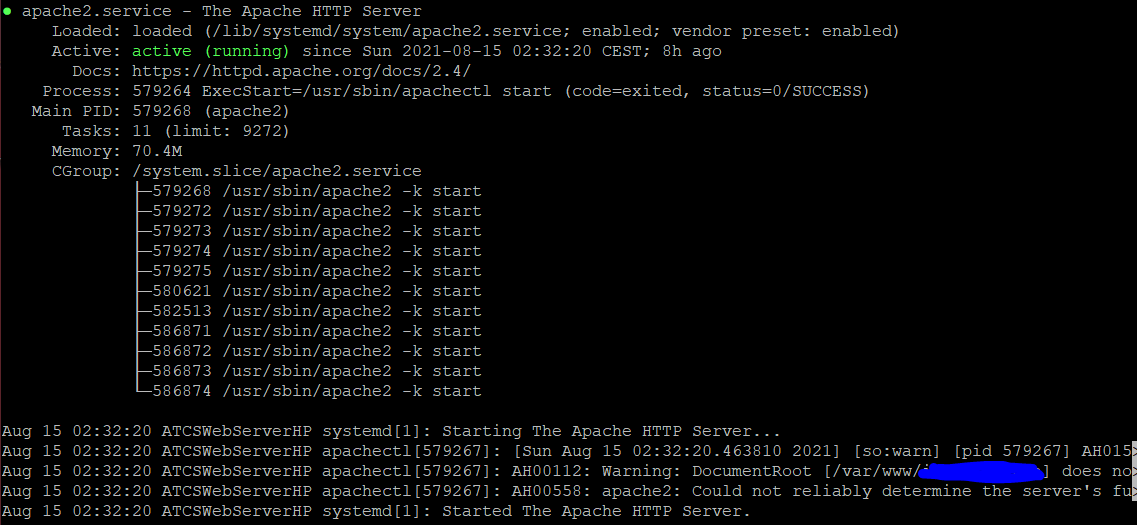
Next you can check the status of your Apache 2:
sudo service apache2 status
You should seen an outcome similar to this:
Typically the folder structure for config files for an Apache is:
- /etc/apache2/sites-available: All available configs
- /etc/apache2/sites-enabled: All enabled and used configs
You should use this structure and put all you configs in sites-available which you then can symlink to sites-enabled. This way you can also have work-in-progress configs without impacting the running apache.
For you InvoiceNinja 5 config, create a new file:
sudo vim /etc/apache2/sites-available/invoiceninja5.conf
And enter the following content:
<IfModule mod_ssl.c>
    <VirtualHost *:443>
            ServerName invoiceninja.xxx.xx
            ServerAdmin your@email.de

            ErrorLog ${APACHE_LOG_DIR}/invoiceninja.error.log
            CustomLog ${APACHE_LOG_DIR}/invoiceninja.access.log combined

            SSLProxyEngine on
            SSLProxyVerify none
            SSLProxyCheckPeerCN off
            SSLProxyCheckPeerName off
            SSLProxyCheckPeerExpire off

            ProxyPass               / https://192.168.xx.xx/ nocanon
            ProxyPassReverse        / https://l92.168.xx.xx/

            Header set X-Robots-Tag "noindex, nofollow"

            # Prevents PDF File Caching
            <FilesMatch ".pdf$">
                    Header set Cache-Control no-store
            </FilesMatch>

    </VirtualHost>
</IfModule>
Replace the ServerName with your public URL and the ProxyPass IP with your internal IP.
After this restart the Apache 2 and install your Let's encrypt certificate.
sudo service apache2 restart
How you can install a Let's encrypt certificate is described here. It is for a NGINX, but you can do it the same way for an Apache 2.